It will be only fair that I talk about biryani, considering my partner is huge fan of Hyderabad chicken dum biryani. If you hail from Indian sub-continent or have flair for Indian food, you must have heard of Biryani. Hoping you will find this authentic chicken dum biryani recipe suitable for your needs.
Jump To
What is Chicken Dum Biryani
Dum Biryani is a rice based dish. Rice and chicken are cooked with spices in a closed container. To make chicken biryani, first marinate chicken and then semi–cook it. Likewise, semi-cook rice. Now create multiple layers of rice and chicken and leave to cook with lid closed on extremely low flame. The steam formed cooks the rice from top and heat cooks from bottom of the pan.
Fun Fact : Biryani is so much popular that Indian government released a postal stamp depicting biryani.
What is Dum
When you cook the food in a closed container by the steam formed from the food (content) itself, its called Dum. For Dum, seal the lid of the container, so its air tight.
Dum Biryanis were originally made in the kitchens of Mughal Emperors. Hence, its mainly considered as a part of Andhra region of India (Hyderabadi cuisine). No wonder that Hyderabadi biryanis are most famous in the world.
My partner totally relish the taste of a good biryani. He was introduced and pampered to the taste of authentic biriyani by two of his very close friends. After marriage, I showed him how to make this biryani. This recipe of this dum biryani is my own learning based on my interactions with few chefs in various authentic Indian restaurants.
Method
Chicken Dum Biryani making process consists of five steps.
- Marinating the chicken. Marinade the chicken over night for getting a good tender and juicy chicken biryani. I will say at the minimum marinade for 3 hours.
- Cooking the chicken. Cook the chicken to semi-cooked state.
- Semi-cooking rice. Cook the rice to half cooked state.
- Layering. Adding the rice and chicken in layers of rice, chicken, rice, chicken, and rice.
- Dum. For dum biryani, the pan needs to be sealed with lid. You can use wheat dough to seal the lid. Then, let the chicken and rice cook in steam on low heat.
Granular Recipe Details
Marination Details
- First of all thinly slice the onion from marination ingredients and deep fry them in the oil, taking them out on a kitchen towel.
- Wash the chicken thoroughly and keep aside. Take a mixing bowl and add all the ingredients ((yogurt, ginger garlic paste, red chilli powder, coriander powder, turmeric powder, biryani masala, salt, fresh coriander leaves, fresh mint leaves, green chillies, lemon Juice, cardamom powder, and Oil) from marination category listed above. Crush those fried onions with the help of your hand and mix it in the marination. Add remaining oil (left after frying onion) to the bowl and add chicken and mix it with the marination properly and cover the bowl with cling film and keep in the refrigerator overnight. (You can keep it for shorter duration, however longer you keep it, better the taste).
Cooking Chicken Details
- Take a kadai / pan and keep it on medium flame. Transfer the marinated chicken to this kadai and add 1.5 cup of water. Cover it with lid and let it cook for 10 minutes. You can also cook chicken in the same pot in which you are planning to make biryani. After 10 minutes, check the chicken. If chicken is little soft and tender switch off the flame otherwise cook for another few minutes.
Cooking Rice Details
- Now lets start boiling rice. I divided rice in three parts (Colors: Yellow, Orange and White) driven purely by my desire to make my biriyani little colorful. Based on your choice, you can colour rice in different colour or you can make biryani with white rice only. If going with three coloured rice, then divide the spices under rice heading into three parts.
- Make orange coloured rice with edible orange food colour.
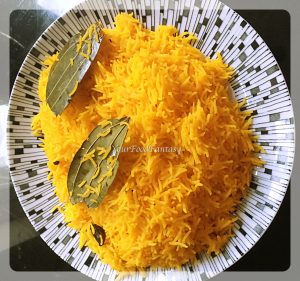
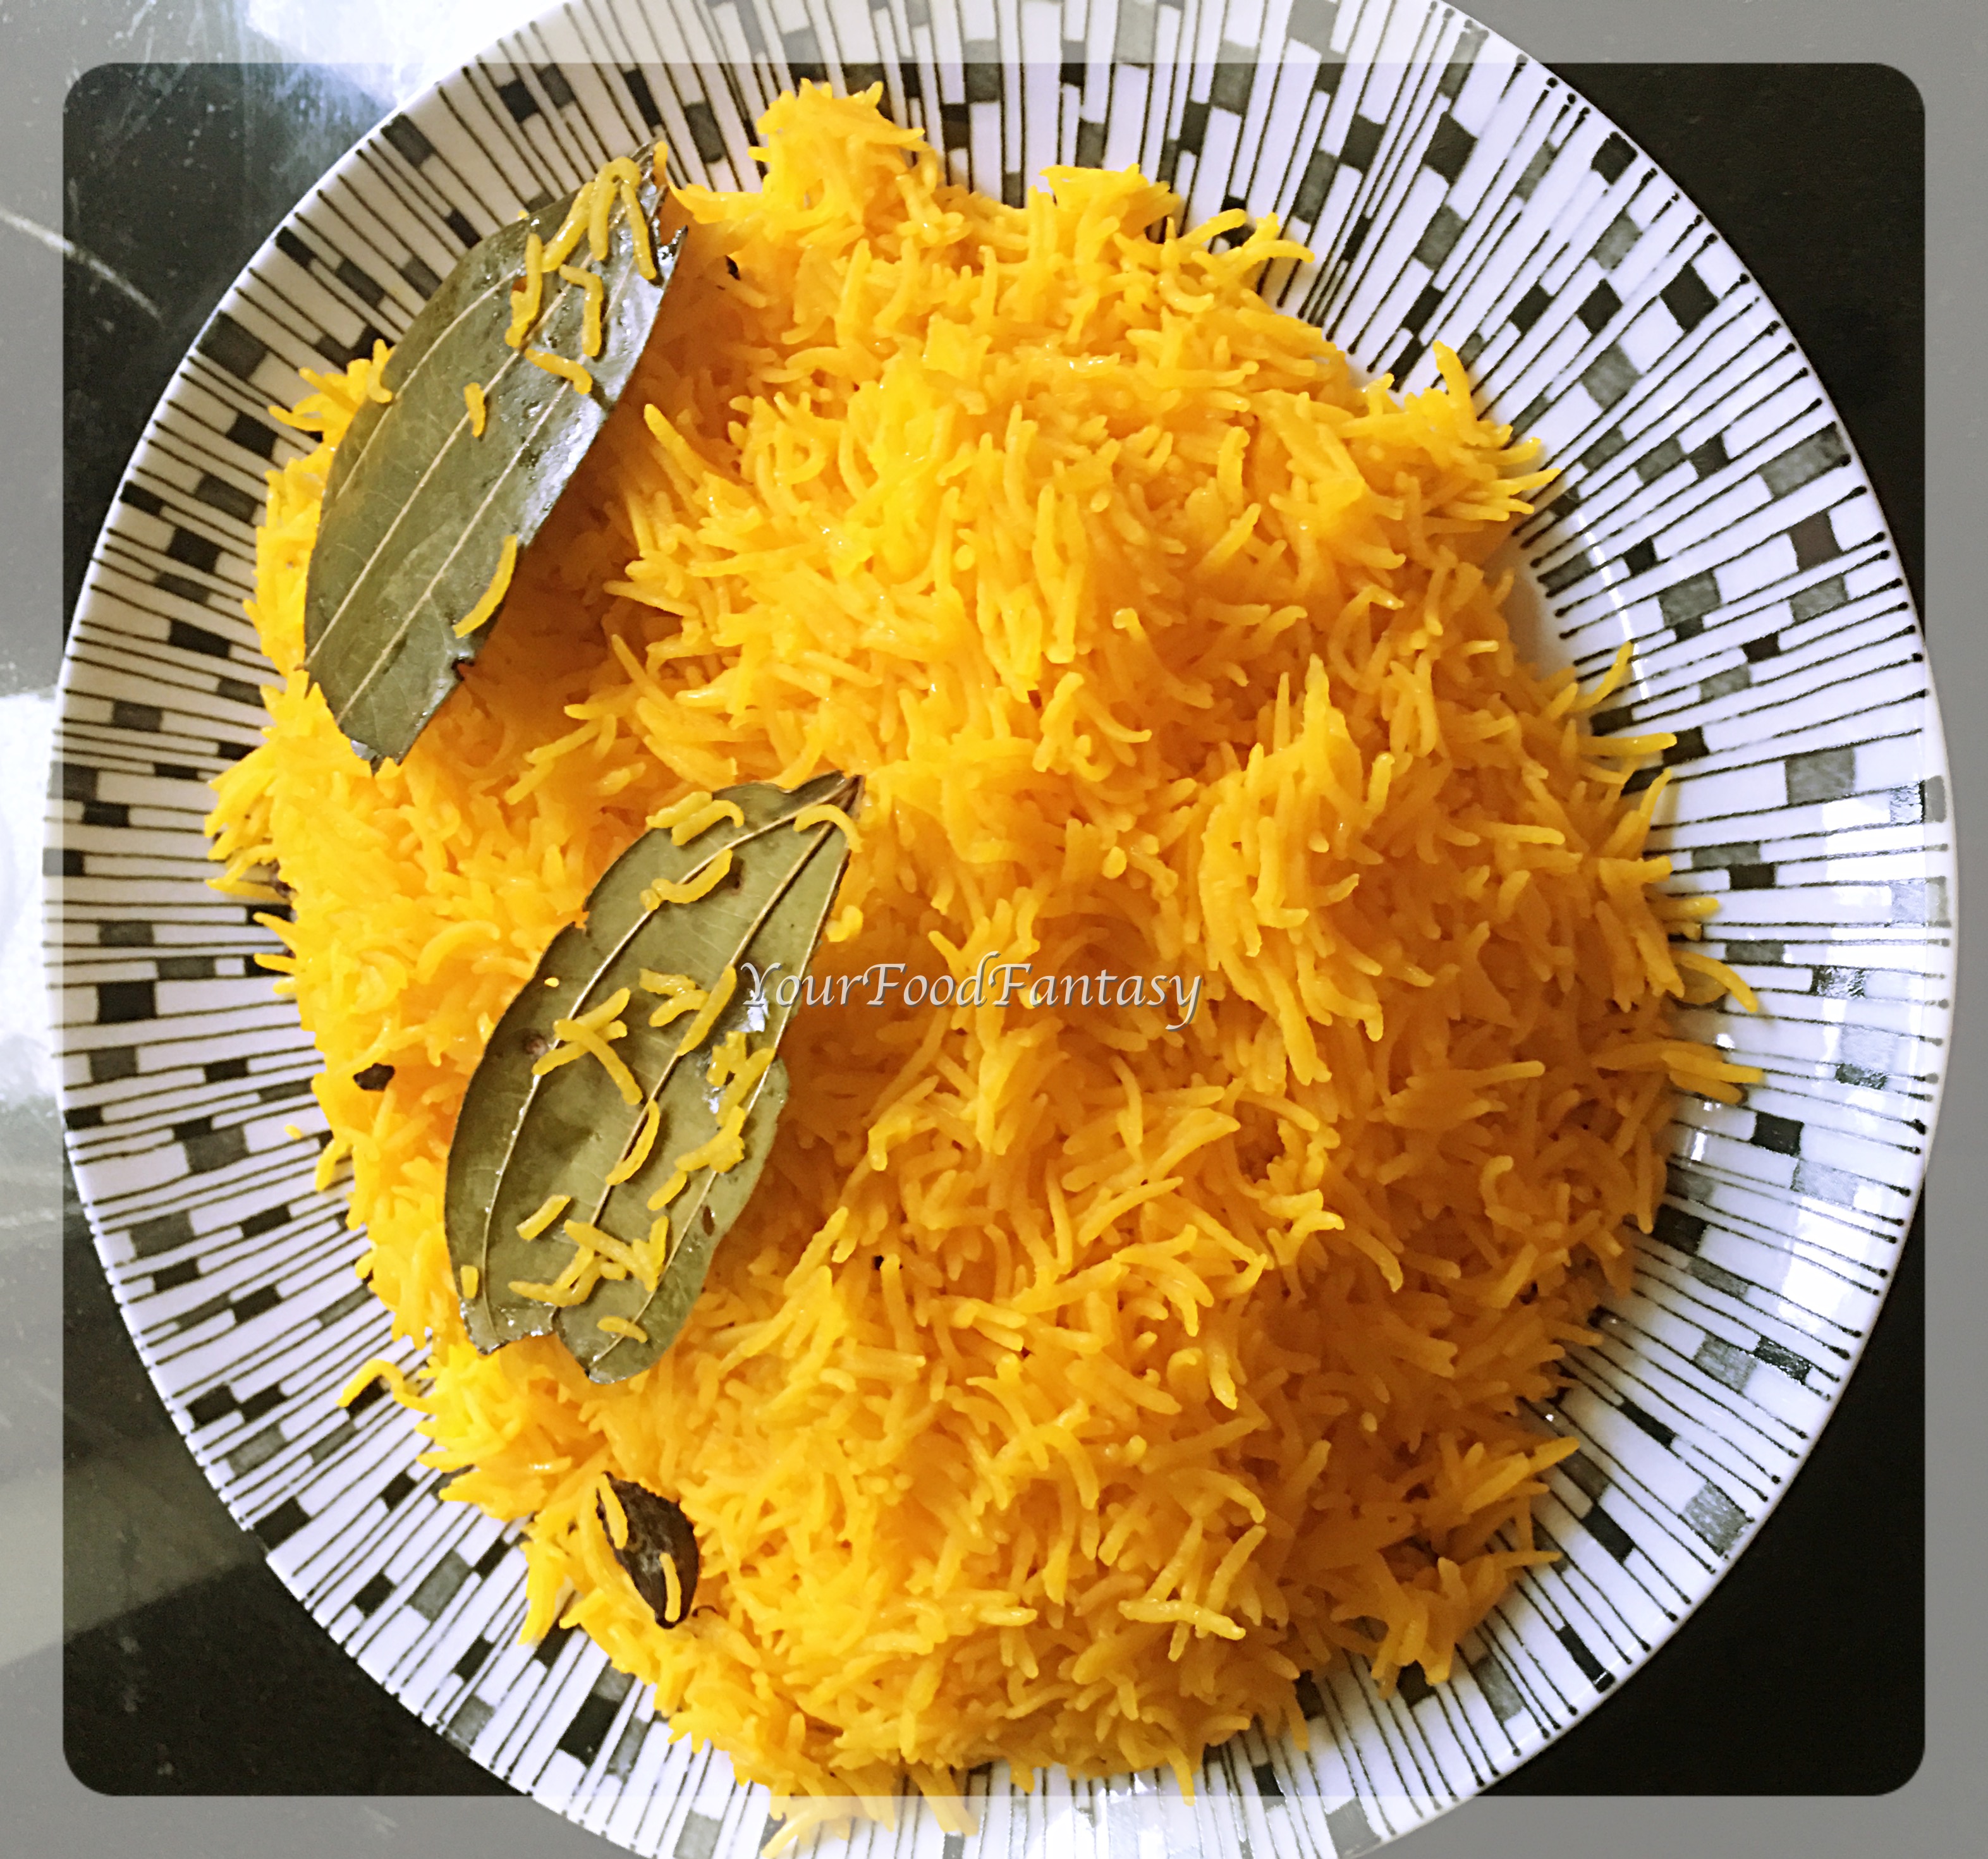
- To make yellow rice. Take 4 cups of water and bring to boil, add little salt. now add in one part of drained (already soaked) rice, turmeric powder, 1 tablespoon oil and one part of whole spices and cook it for 5 to 7 mins till rice are 90 percent done. Drain the rice and keep aside. Yellow colour rice are ready now.
Layering Details
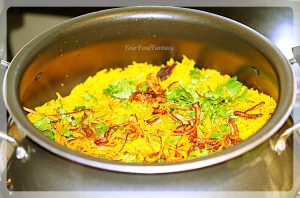
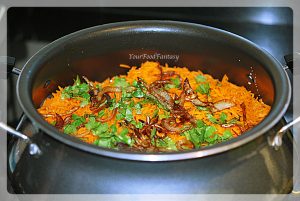
- First of all grease the Biryani pot with 1 tablespoon ghee and transfer the chicken to it. Now spread yellow rice over it and top it with fried onions, chopped coriander and mint leaves, saffron milk.
- Add spread orange coloured rice and top it again with fried onions, chopped mint and coriander leaves and saffron milk.
- Now spread white rice over it and finish layering by topping it with the rest of fried onions, chopped mint, cashews and coriander and saffron milk, and subsequently add kewra water to it.
- Cover the entire pot with foil or tea towel and cover with lid. Place it on medium flame for 5-7 minutes and then let it cook on a extremely low flame for 35 to 40 minutes.
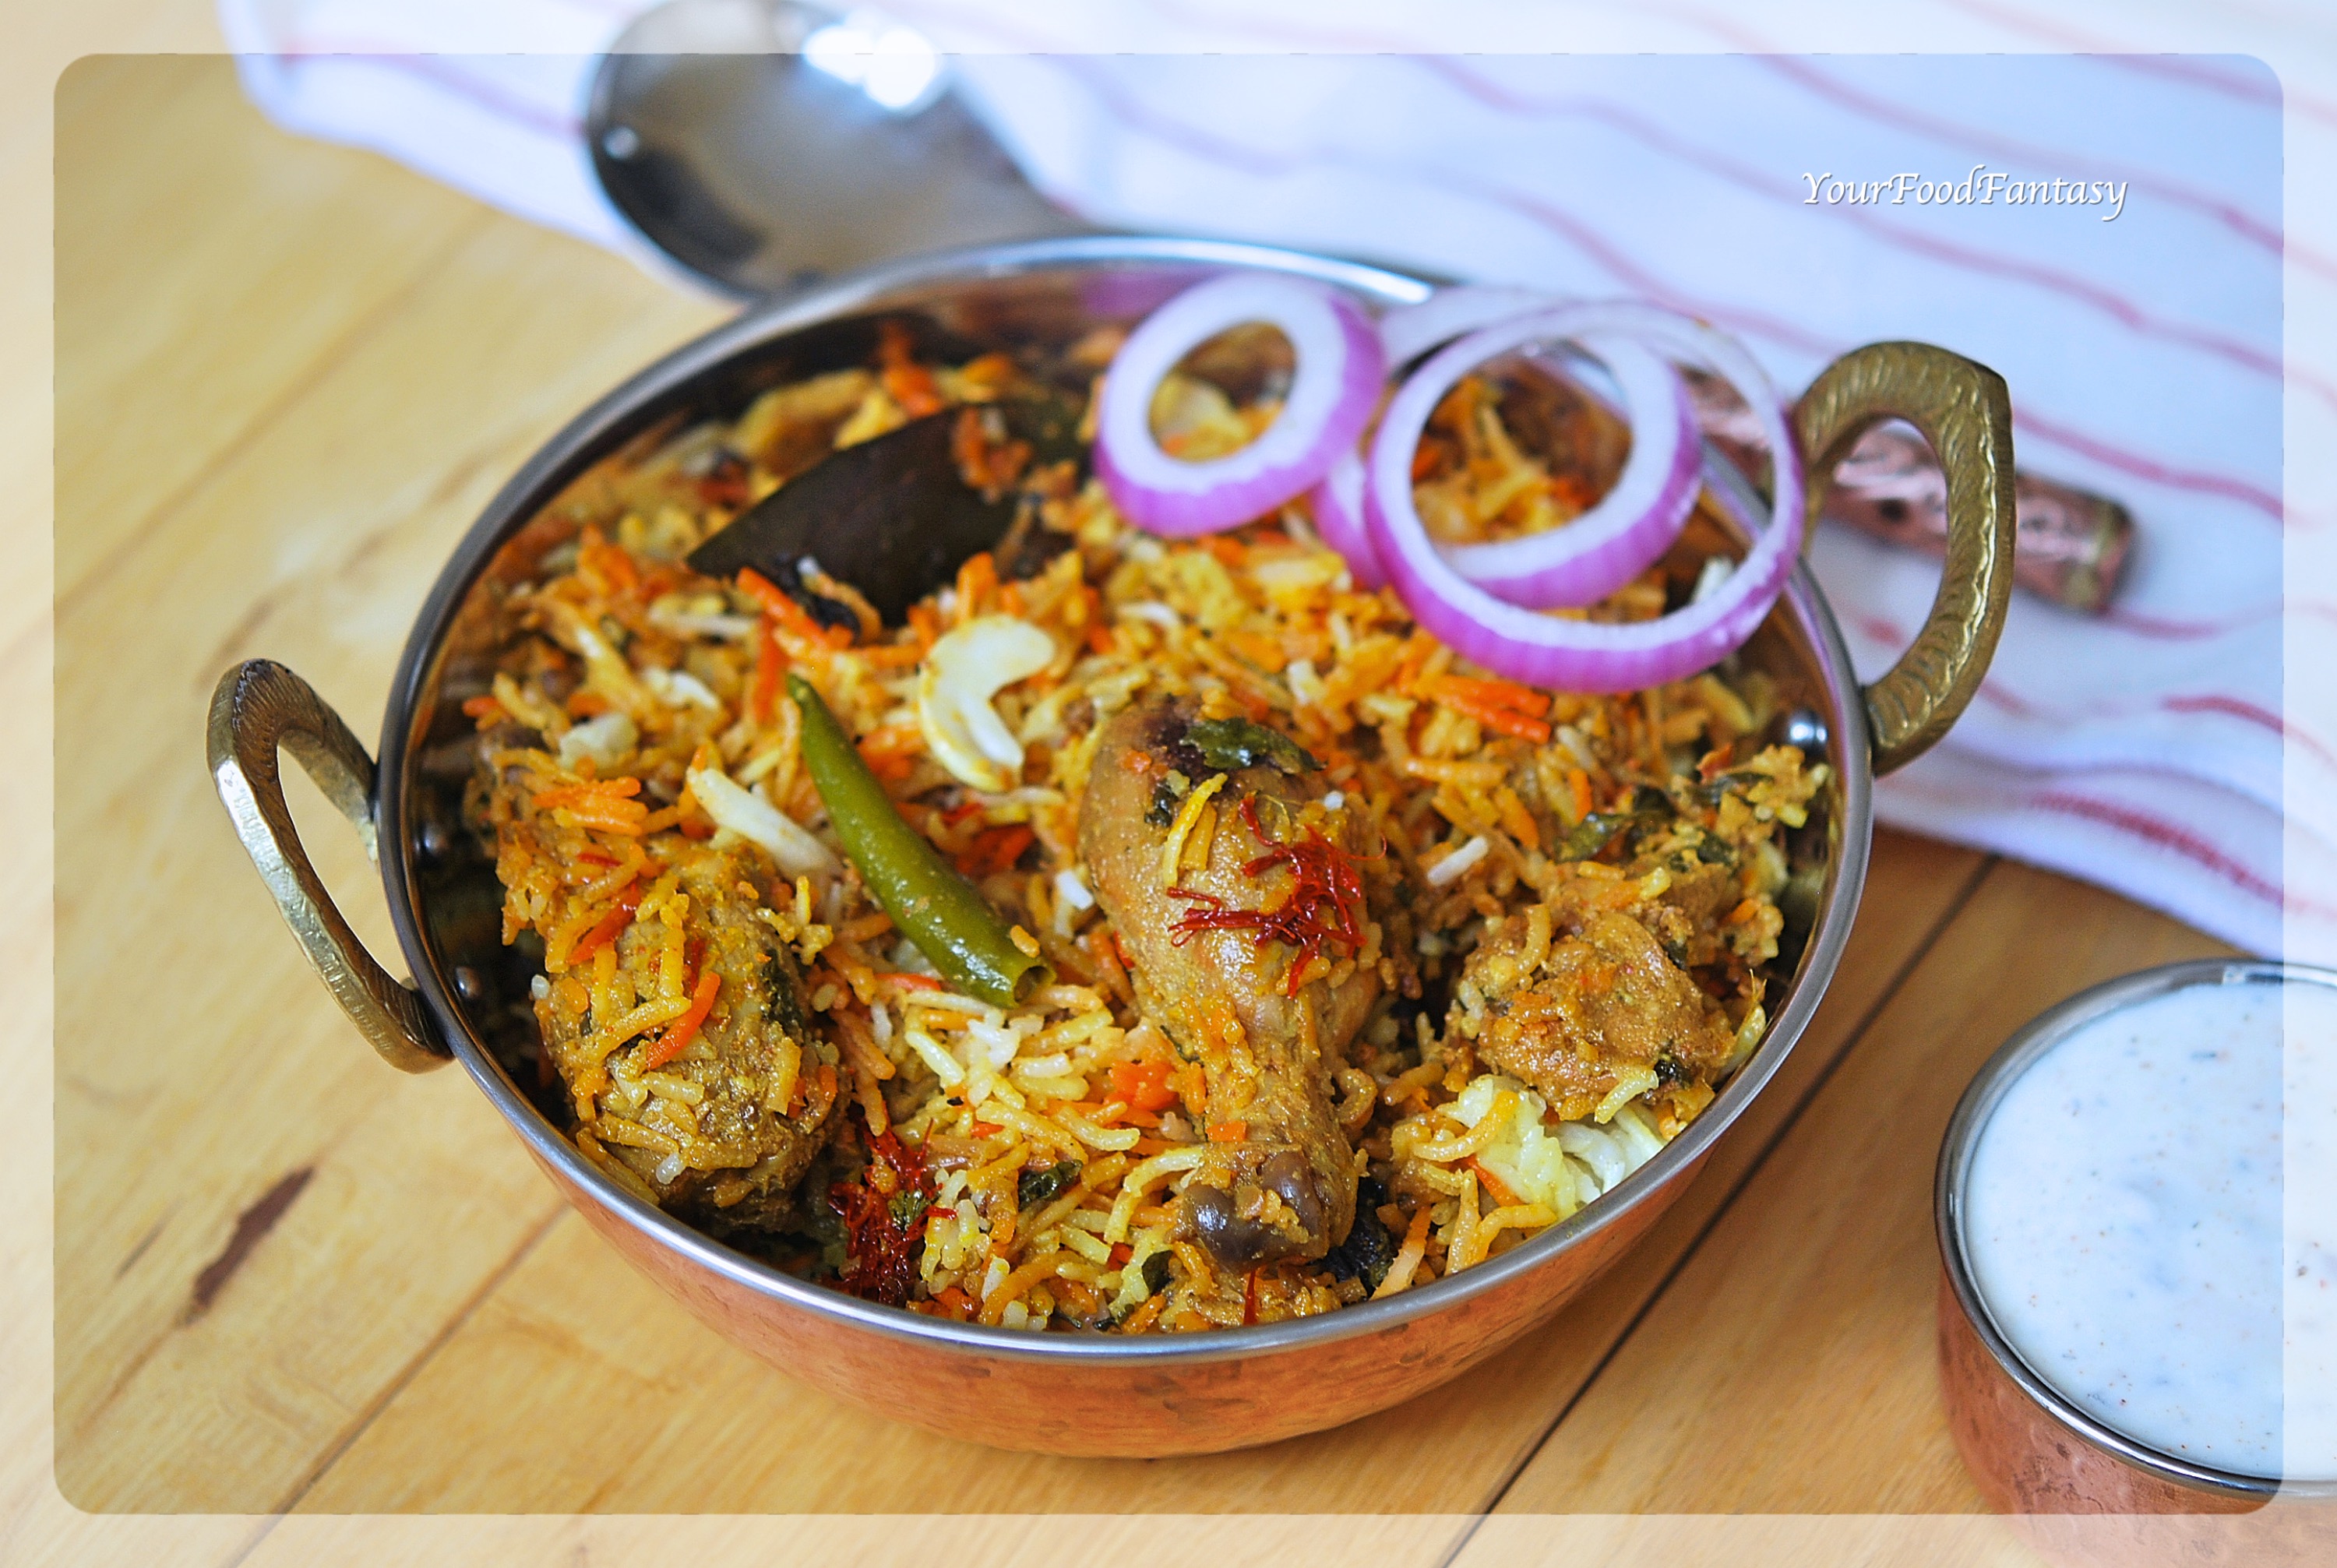
- Now remove the tea towel and lid then fluff the rice carefully with fork. Serve hot with raita.
Pro Tips for best hyderabad dum biryani
- Soaking rice and marinating chicken is very important, so never skip it. If you can’t marinate chicken overnight then do it for at least 3 hours otherwise biryani will not come out perfect. Also, always use good quality basmati rice for biryani.
- Cooking rice perfectly is also very important. If you over cook it, then the rice will stick to each other and it will result in mushy Biryani. So always check the rice once they start boiling. It takes around 5-6 minutes to get them cooked after putting them in boiling water.
- It would be useful if you use a big wide open pan or handi to make Biryani as it would be easier to do layering in it and when you take the biryani out from pot to serve, you can easily reach to the bottom with a single scoop.

This Hyderabad Chicken Dum Biryani is
- Gluten-free, and fully suitable for gluten intolerants.
- Authentic in its taste
- Gives amazing taste
- Is a winner on the dinning table
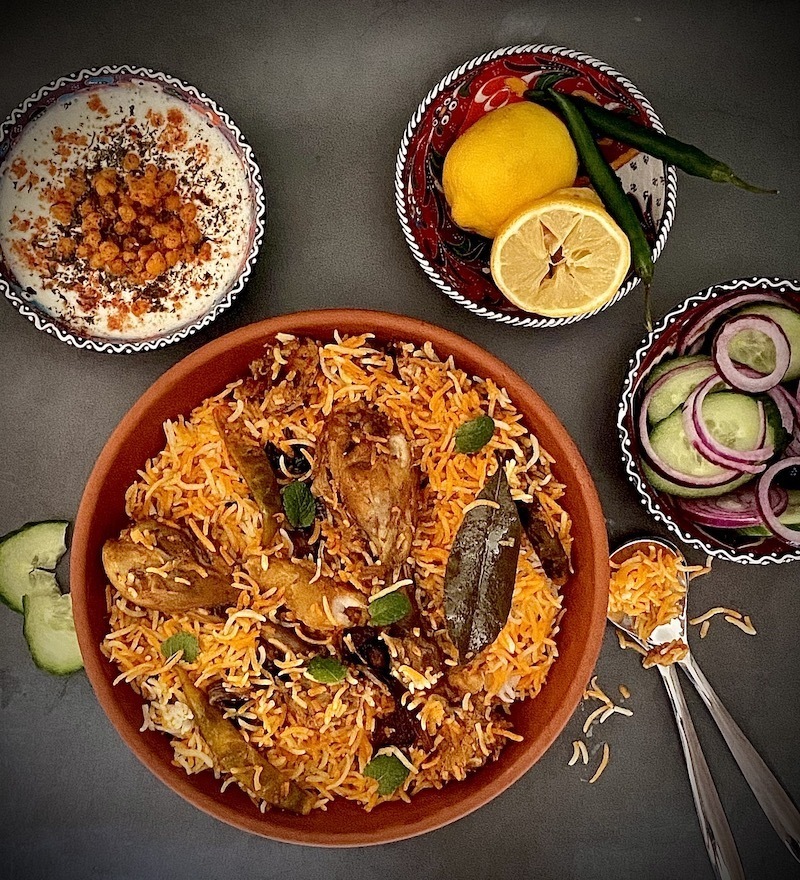
Serving suggestion
Chicken dum biryani is best served with raita, or gravy based curry. Make sure that chicken pieces are appropriately in proportion of rice in the platter.
Other biryanis
If you are a biryani lover, you may like to check lamb biryani, veg biryani and jackfruit biryani.
Edit : This recipe has been updated on 17/01/2021 with new pictures and other content, core recipe remains same.
Authentic Chicken Biryani Recipe Card
Chicken Dum Biryani
Ingredients
For Marination
- 1.5 Kgs Chicken
- 2 Tbsp Yogurt
- 3 Tbsp Ginger Garlic Paste
- 2 Onions Medium Size
- 1.5 Tsp Red Chilli Powder
- 1 Tbsp Coriander Powder
- 1/2 Tsp Turmeric Powder
- 1.5 Tbsp Biryani Masala You can use any good brand biryani masala
- 1 Tsp Salt
- 1/2 Cup Fresh Coriander Leaves
- 1/3 Cup Fresh Mint Leaves
- 3 Green chillies Optional
- 1 Tbsp Lemon Juice
- 1 Tsp Cardamom Powder
- 3/4 Cup Oil
For Rice preparation
- 1 Kg Basmati Rice
- 4 Bayleaves
- 5 Cloves
- 8 Whole black peppercorns
- 1.5 Tsp Salt
- 3 Tbsp Oil
- 1 Tsp Turmeric Powder
- 1 Tsp Orange Food Colour
- 3 Black Cardamom
- 4 Green Cardamom
For layering of Biryani
- 2 Onions Largely sliced
- Saffron Few strands
- 1/4 Cup Milk Warm
- 1/4 Cup Fresh Coriander Leaves Finely Chopped
- 1/3 Cup Fresh Mint Leaves Finely Chopped
- 1 Tbsp Ghee / Clarified Butter
- 2 Tbsp Kewda Water
- 10 Cashews Optional
Instructions
For Marination
- First of all thinly slice the onion from marination ingredients (listed above) and deep fry them in the oil, taking them out on a kitchen towel.

- Wash the chicken thoroughly and keep aside. Take a mixing bowl and add all the ingredients from marination category listed above. Crush those fried onions with the help of your hand and mix it in the marination. Add remaining oil (left after frying onion) to the bowl and add chicken and mix it with the marination properly and cover the bowl with cling film and keep in the refrigerator overnight. (You can keep it for shorter duration, however longer you keep it, better the taste).


Cooking Chicken
- Take a kadhai / pan and keep it on medium flame. Transfer the marinated chicken to this kadhai and add 1.5 cup of water. Cover it with lid and let it cook for 10 minutes. You can also cook chicken in the same pot in which you are planning to make biryani. After 10 minutes, check the chicken. If chicken is little soft and tender switch off the flame otherwise cook for another few minutes.


Preparing Rice
- Now lets start boiling rice. I divided rice in three parts (Colors: Yellow, Orange and White) driven purely by my desire to make my biriyani little colorful. Based on your choice, you can colour rice in different colour or you can make biryani with white rice only. If going with three coloured rice, then divide the spices under rice heading into three parts.

- Make orange coloured rice with edible orange food colour.

- To make yellow rice. Take 4 cups of water and bring to boil, add little salt. now add in one part of drained (already soaked) rice, turmeric powder, 1 tablespoon oil and one part of whole spices and cook it for 5 to 7 mins till rice are 90 percent done. Drain the rice and keep aside. Yellow colour rice are ready now.


Layering the Biryani
- First of all grease the Biryani pot with 1 tablespoon ghee and transfer the chicken to it. Now spread yellow rice over it and top it with fried onions, chopped coriander and mint leaves, saffron milk.
- Now spread orange coloured rice and top it again with fried onions, chopped mint and coriander leaves and saffron milk.
- Now spread white rice over it and finish layering by topping it with the rest of fried onions, chopped mint, cashews and coriander and saffron milk. Add kewra water to it.

- Cover the entire pot with foil or tea towel and cover with lid. Place it on medium flame for 5-7 minutes and then let it cook on a extremely low flame for 35 to 40 minutes.

- Now remove the tea towel and lid then fluff the rice carefully with fork. Serve hot with raita.


Notes
- Soaking rice and marinating chicken is very important, so never skip it. If you can’t marinate chicken overnight then do it for at least 3 hours otherwise biryani will not come out perfect. Also, always use good quality basmati rice for biryani.
- Cooking rice perfectly is also very important. If you over cook it, then the rice will stick to each other and it will result in mushy Biryani. So always check the rice once they start boiling. It takes around 5-6 minutes to get them cooked after putting them in boiling water.
- It would be useful if you use a big wide open pan or handi to make Biryani as it would be easier to do layering in it and when you take the biryani out from pot to serve, you can easily reach to the bottom with a single scoop.
this chicken dum briyani recipe looks yummy……… I gonna try…. keep rocking …..
Hoping you liked it when you tried it.